
A height chart turns abstract measurements into something students can discuss. Use invented names and measurements for classroom demonstrations so children do not have to disclose personal information.

Activity 1: Convert units
Add two custom subjects at 150 cm and 180 cm. Ask students to express both heights in meters: 1.5 m and 1.8 m. Then convert 180 cm to inches by dividing by 2.54, giving approximately 70.87 inches. Keep extra decimal places during calculations and round the final answer.
Activity 2: Difference is not a ratio
The difference between 150 cm and 180 cm is 30 cm. Their ratio is 150 ÷ 180, approximately 0.833. Relative to the 180 cm subject, the shorter subject is about 16.7% shorter. Reversing the reference gives 20% taller: percentages depend on which value is the denominator.
Activity 3: Build a scale drawing
Choose a paper scale of 1 cm on paper for every 20 cm in real life. The same two subjects become 7.5 cm and 9 cm on paper. Students can compare their drawings with the chart and explain why a large landmark makes a person look tiny on a linear scale.
Activity 4: Compare evidence
Inspect one library source and identify what was measured: standing height, total height, shoulder height or length. Ask whether a building including its antenna can be fairly compared with a statue measured without its base. The tool permits the comparison but students should explain its limits.
Save the lesson
Export a PNG for slides or print, and export JSON if you want an editable project backup. Keep any personal photos on an appropriate classroom device and follow the school’s photo policy. The current tool is a general measurement aid, not a student records system.
Screenshot guide: save a classroom comparison card
For a simple two-subject lesson, open the two-person comparison tool. It also works for fictional classroom examples; no relationship information is required.
- Use invented names and lesson measurements. Keep the silhouettes so students do not need to upload personal photos.
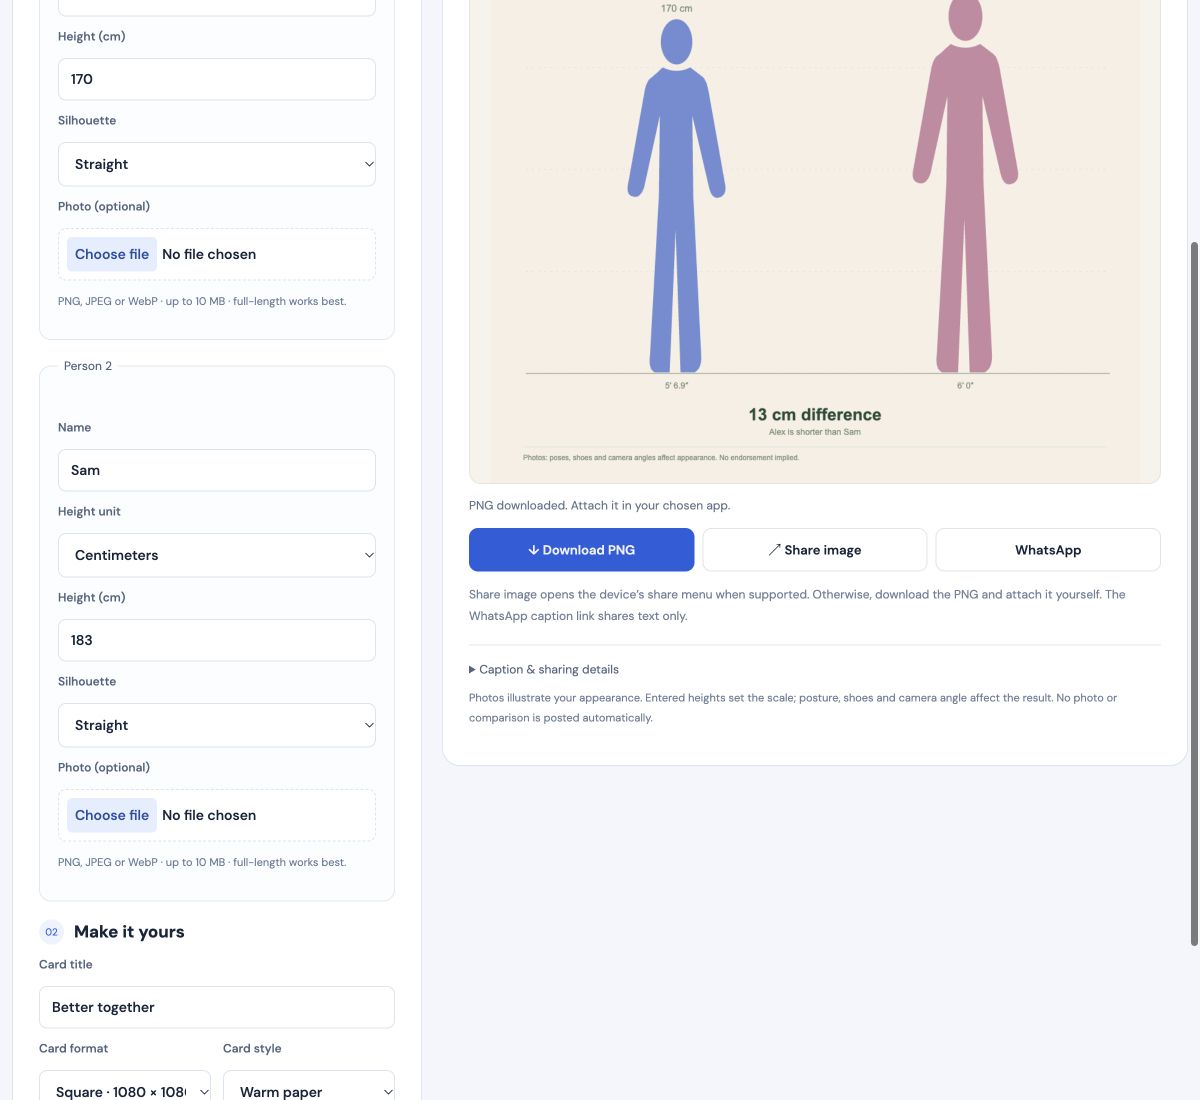
- Choose a card title, format and style under Make it yours, then select Update our comparison.
- Review the numerical difference and select Download PNG. Check the browser’s download list, then insert the saved image into slides or a worksheet.
Follow the numbered highlights
- 1. Select Download PNG to save the card.
- 2. Check the downloaded confirmation, then find the file in your browser’s download list.
Enlarge screenshot with arrows
Tap a numbered link to jump to that control. Swipe sideways or up and down inside the image to inspect it. This is a screenshot; open the actual tool to use the buttons.
For photo upload and cropping, follow the four-step two-person screenshot guide or the celebrity photo screenshot guide. Both explain image downloads, device sharing and the caption-only WhatsApp button. Follow your school’s photo and sharing policy before using personal images.